Click on the Support Center menu on the left pane of the window to manage the ticket system.
It consists of the following menus
- Ticket Dashboard
- View Tickets
- Category
- Configuration
- Open Tickets
- Resolved Tickets
- FAQ
- Logout
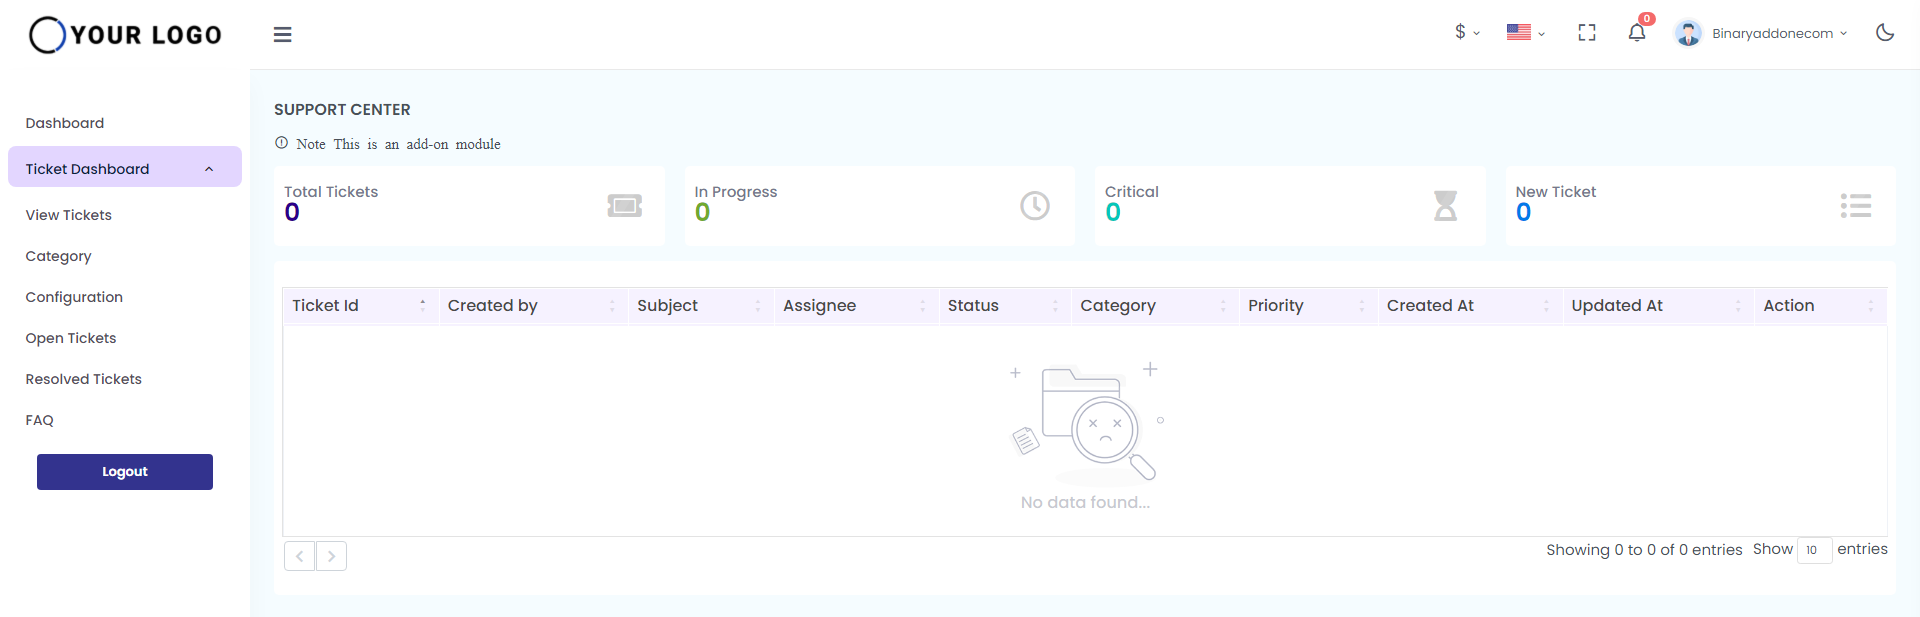
1. Ticket Dashboard
Click on the ‘Ticket Dashboard’ menu to view the details of the number of tickets.
It displays the total, in progress, critical, and new tickets in the ticket dashboard.
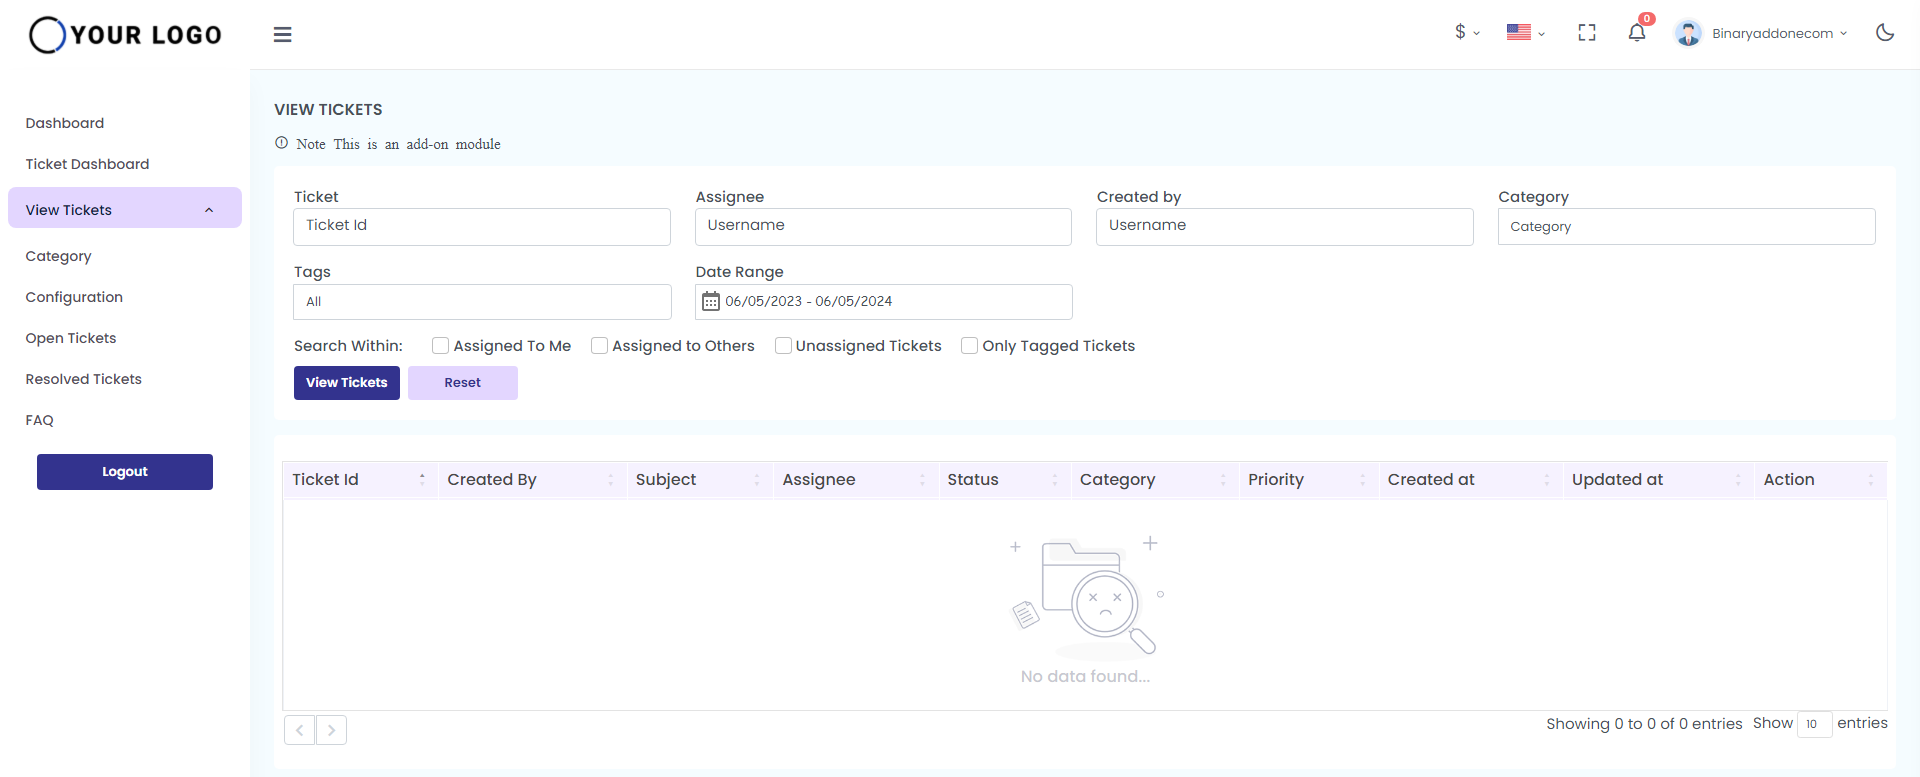
2. View Tickets
Click on View tickets menu to view and find the tickets raised from user end.
To see each one in detail, either click on the icon from ticket dashboard or click on ‘view tickets’ from the panel and enter the following details:
Ticket, Assignee, Created by, Category, Tags, and Date range. You also have options to enable search within, assigned to me, assigned to others, unassigned tickets, and only tagged tickets. Enable the requirements and click on ‘view tickets’ to see the detailed reports.
Click on the View tickets menu to view and find the tickets raised from the user end.
3. Category
Click on Category menu to add new category, to edit and activate/inactivate category.
You can see details like: Category Name, Assignee, Percentage, and Action.
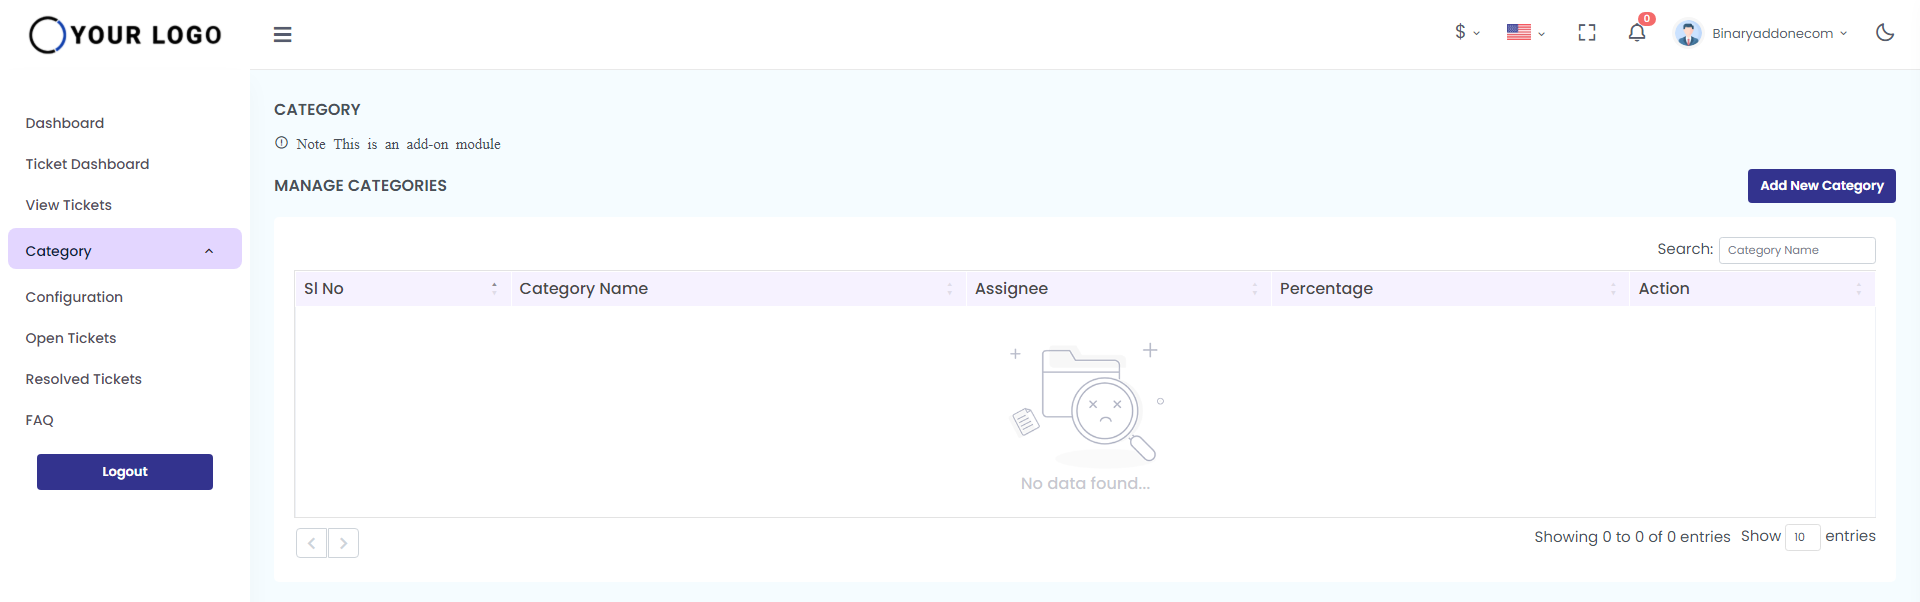
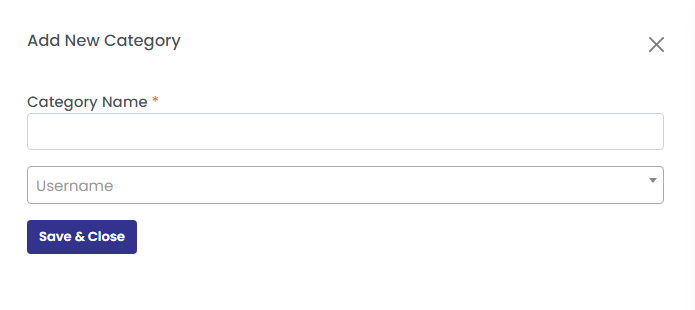
Click on the ‘Add new category’ button to create a new category. Enter the category name and the username and click on ‘save’ button to add a new category and the message “Category created successfully” pops up. The new category will be listed under managed categories.
Click on the icons marked red in the above screenshot to inactivate and edit the category.
Click on Edit Category button to edit the category. The message “ Category updated successfully” gets popped up.
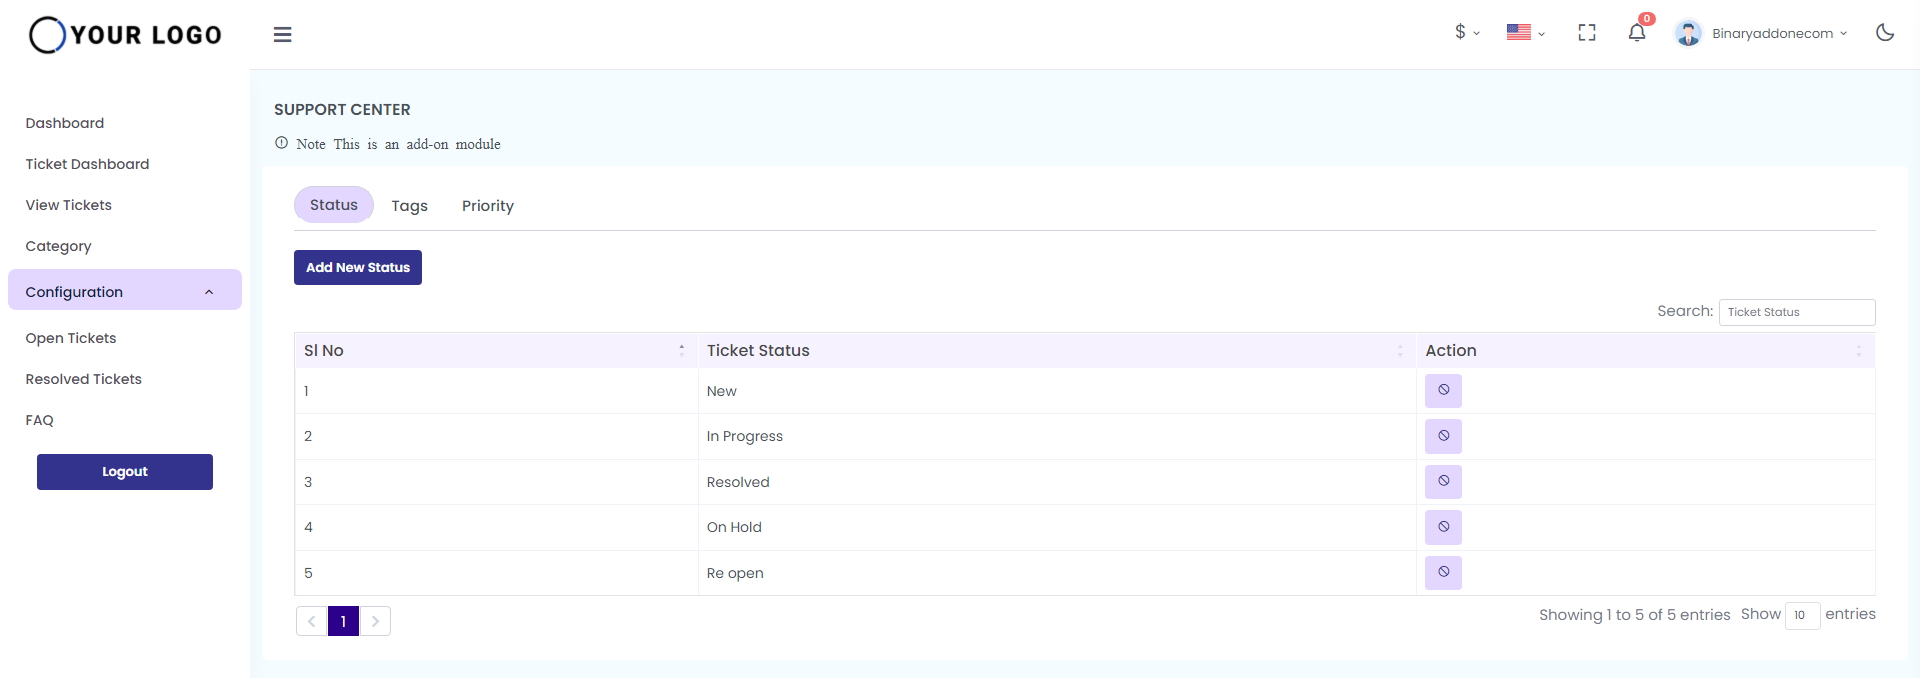
4. Configuration
Click on the Configuration menu to configure the status, tag, priority of the tickets.
Click on the activate/inactivate icon under the action field to activate/inactivate the status , tag, priority of the tickets.
Status
Under this tab, click on the Add new status button. Enter the status name in the space provided.
Click on the Submit button to add the new status to the list. The message “New status created successfully” pops up.
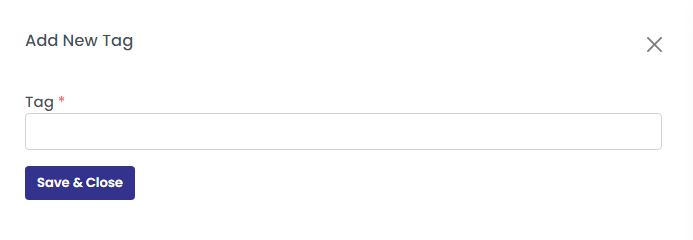
Tags
Under this tab, click on the ‘Add new tag’ button. Enter the tag name in the space provided as shown in the below screenshot.
Click on the Submit button to add the new tag to the list. The message “New tag created successfully” gets popped up.
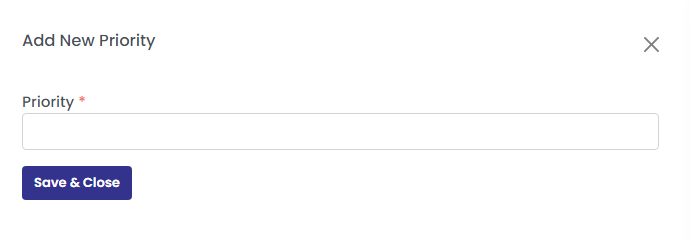
Priority
Under this tab, click on the Add new priority button. Enter the priority name in the space provided as shown in the below screenshot.
Click on the Submit button to add the new priority to the list. The message “New priority created successfully” gets popped up.
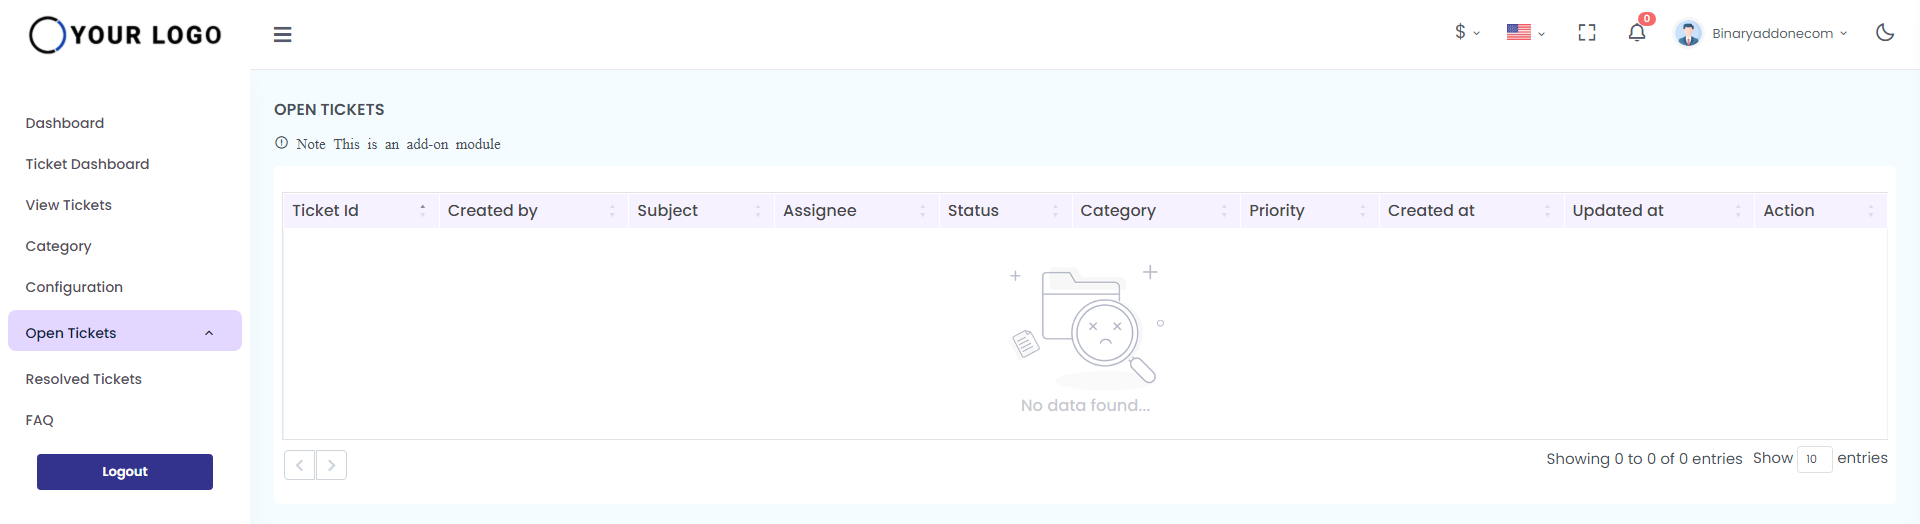
5. Open Tickets
Click on Open Tickets menu to view the open tickets in the system.
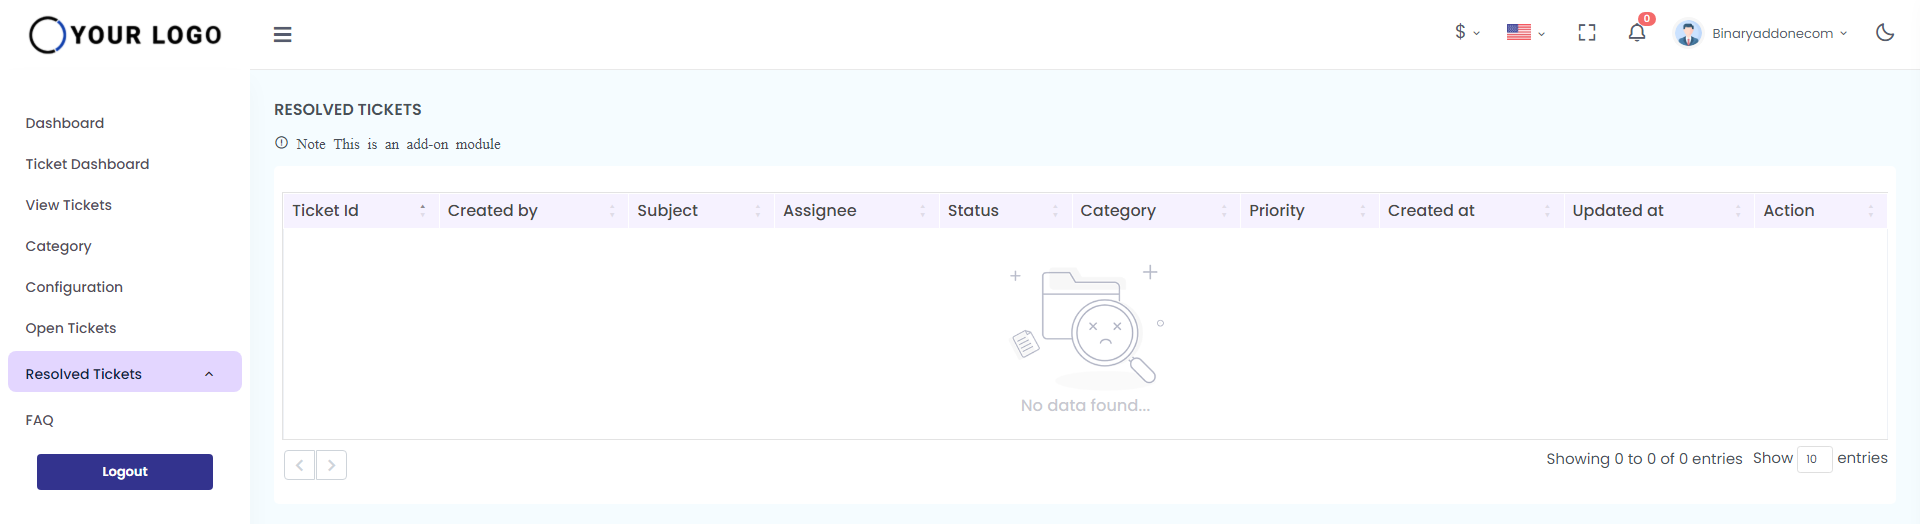
6. Resolved Tickets
Click on Resolved Tickets menu to view the status of resolved tickets.
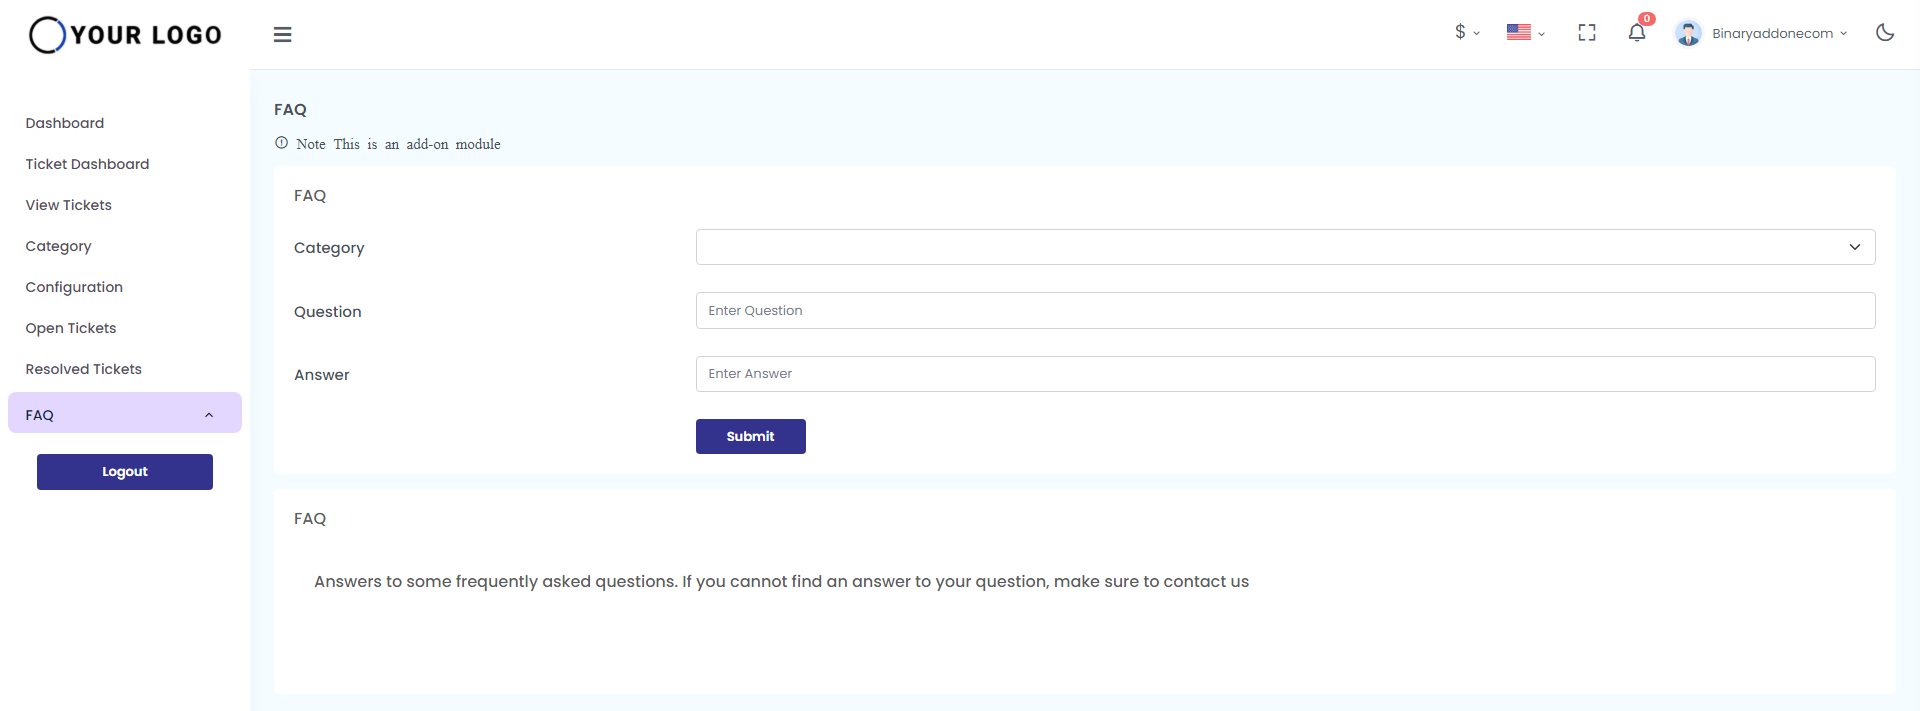
7. FAQ
Click on FAQ menu to add the FAQ in the ticketing system.
Enter the following to create the FAQ
Question:- Type the question to be added in the FAQ
Answer:- Type the answer for the question in the space provided.
Click on create button to create the FAQ. The message “ FAQ created successfully” gets popped up. The added FAQ will be listed under the page.
8. LogOut
Click on Logout to logout from the application